
Screen hardware
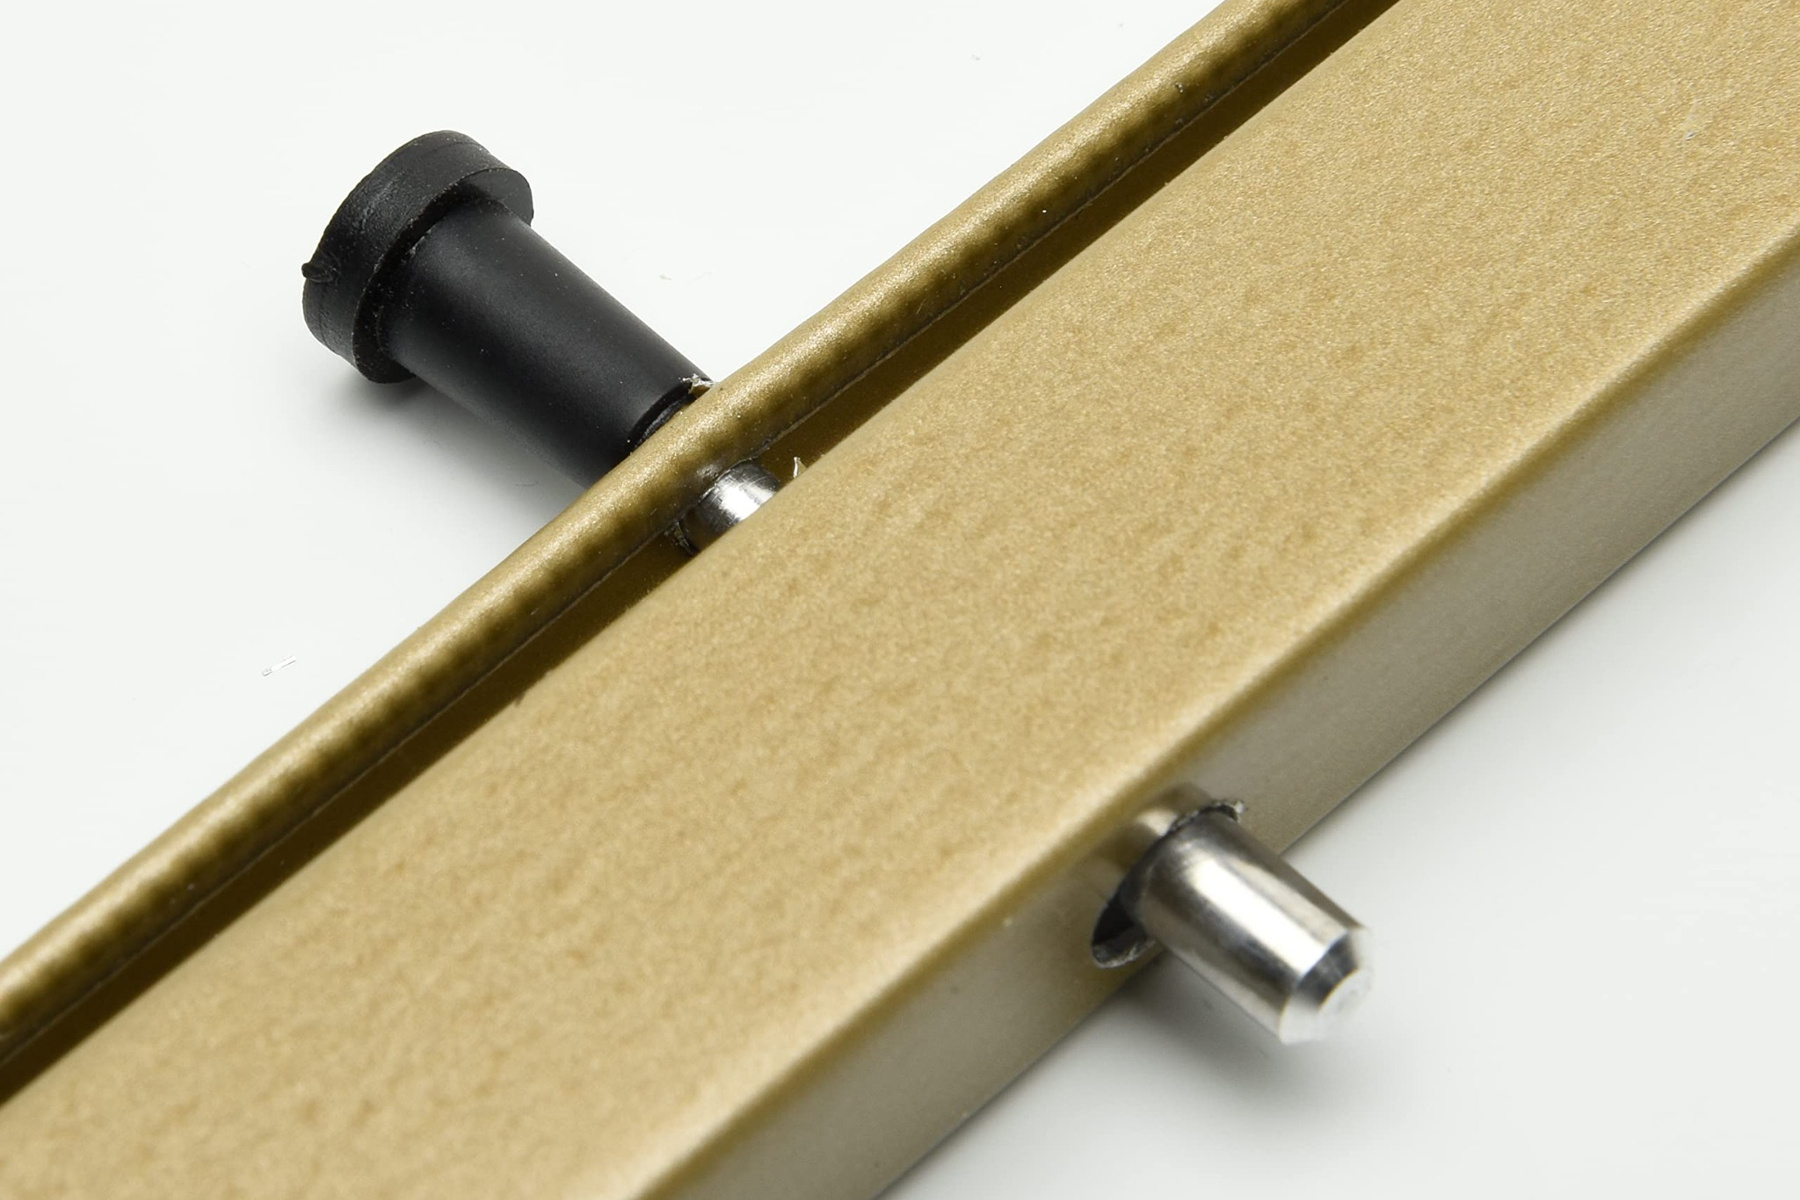
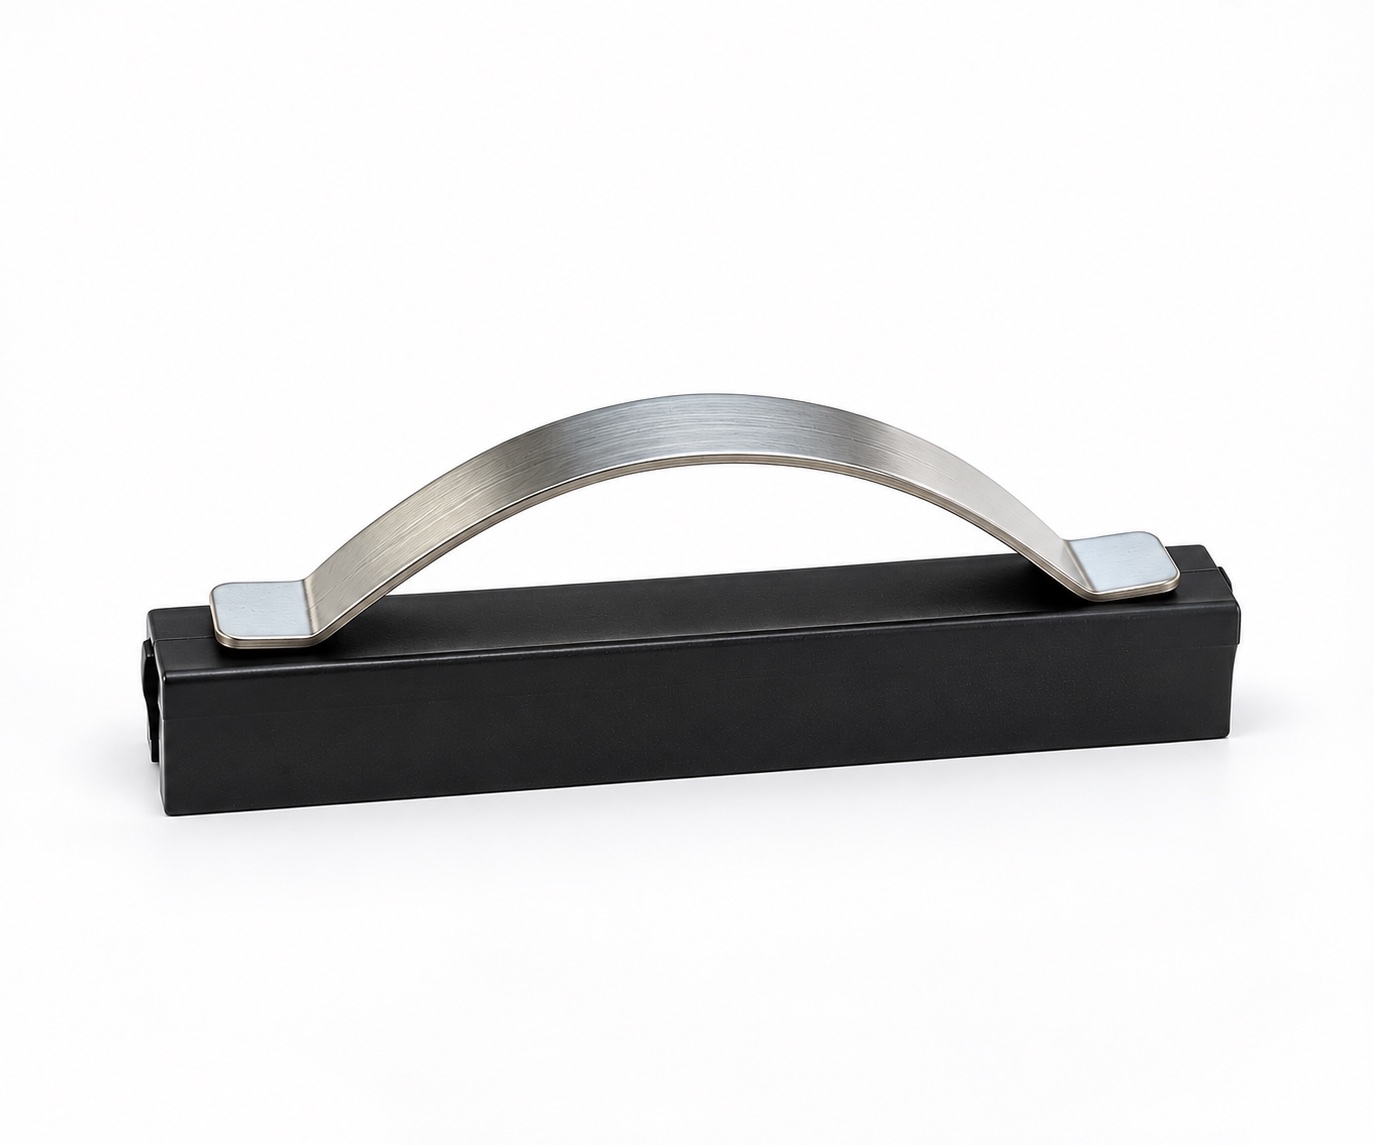
Tension springs
Flat leaf-style springs that press the frame into the track. Match the edge used on an existing screen; pull tabs normally sit on the opposite edge.
Screen hardware
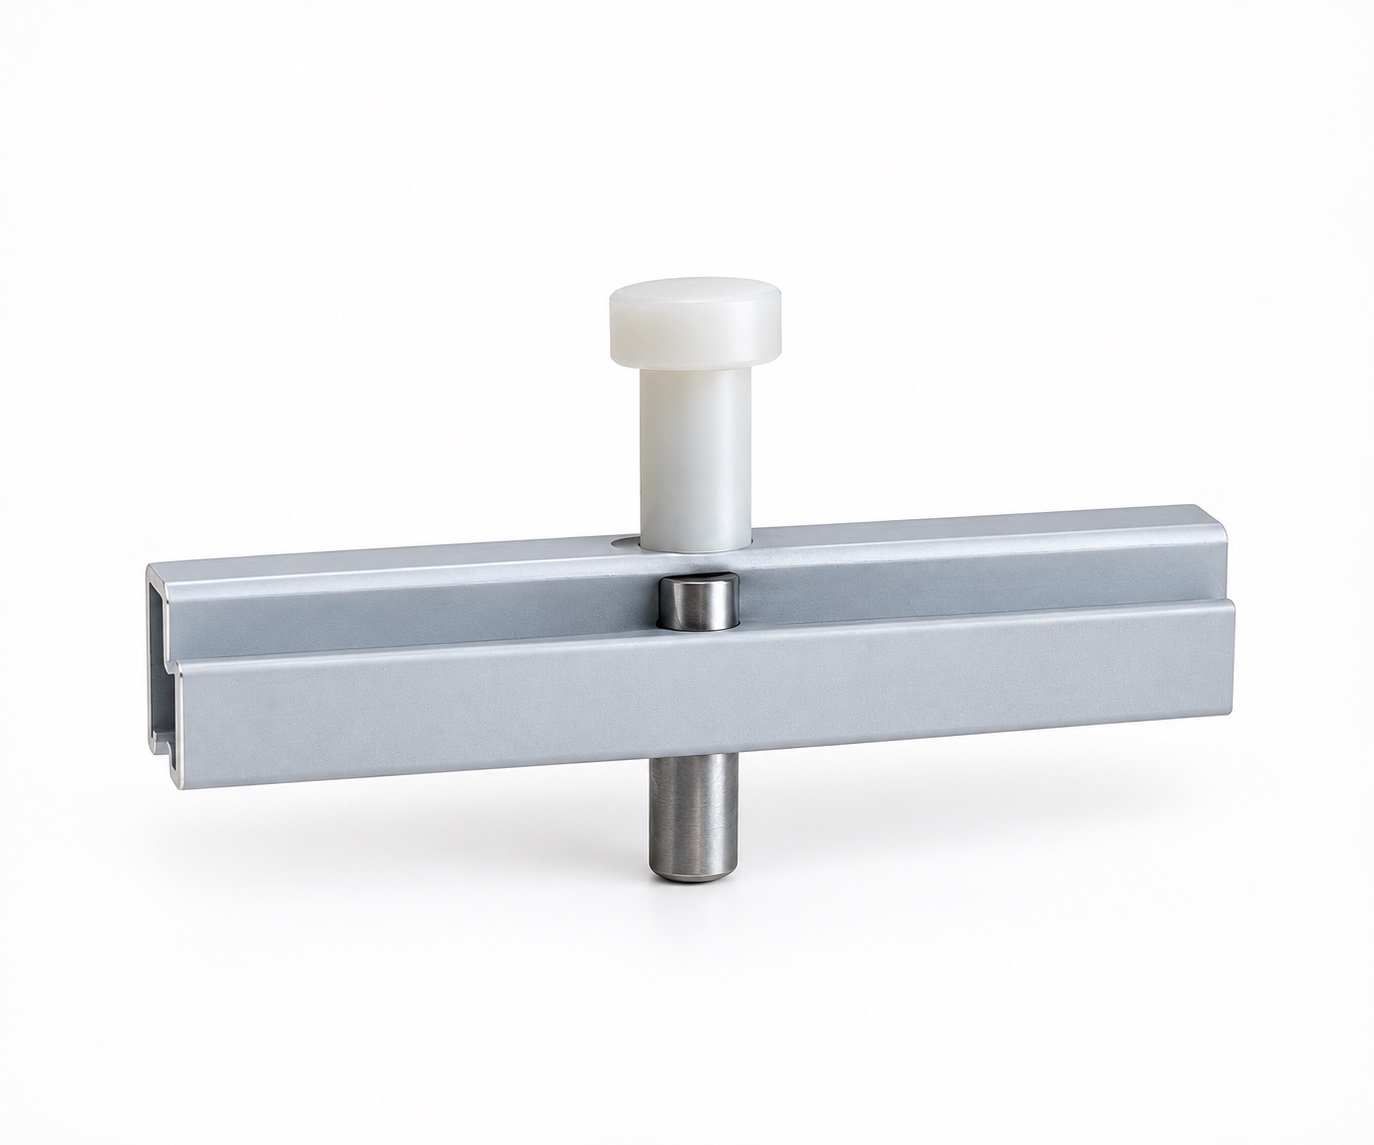
Plunger pins
Spring-loaded pins that retract to release the screen. Look for pin heads along the frame and matching receiver holes in the window.
Screen hardware
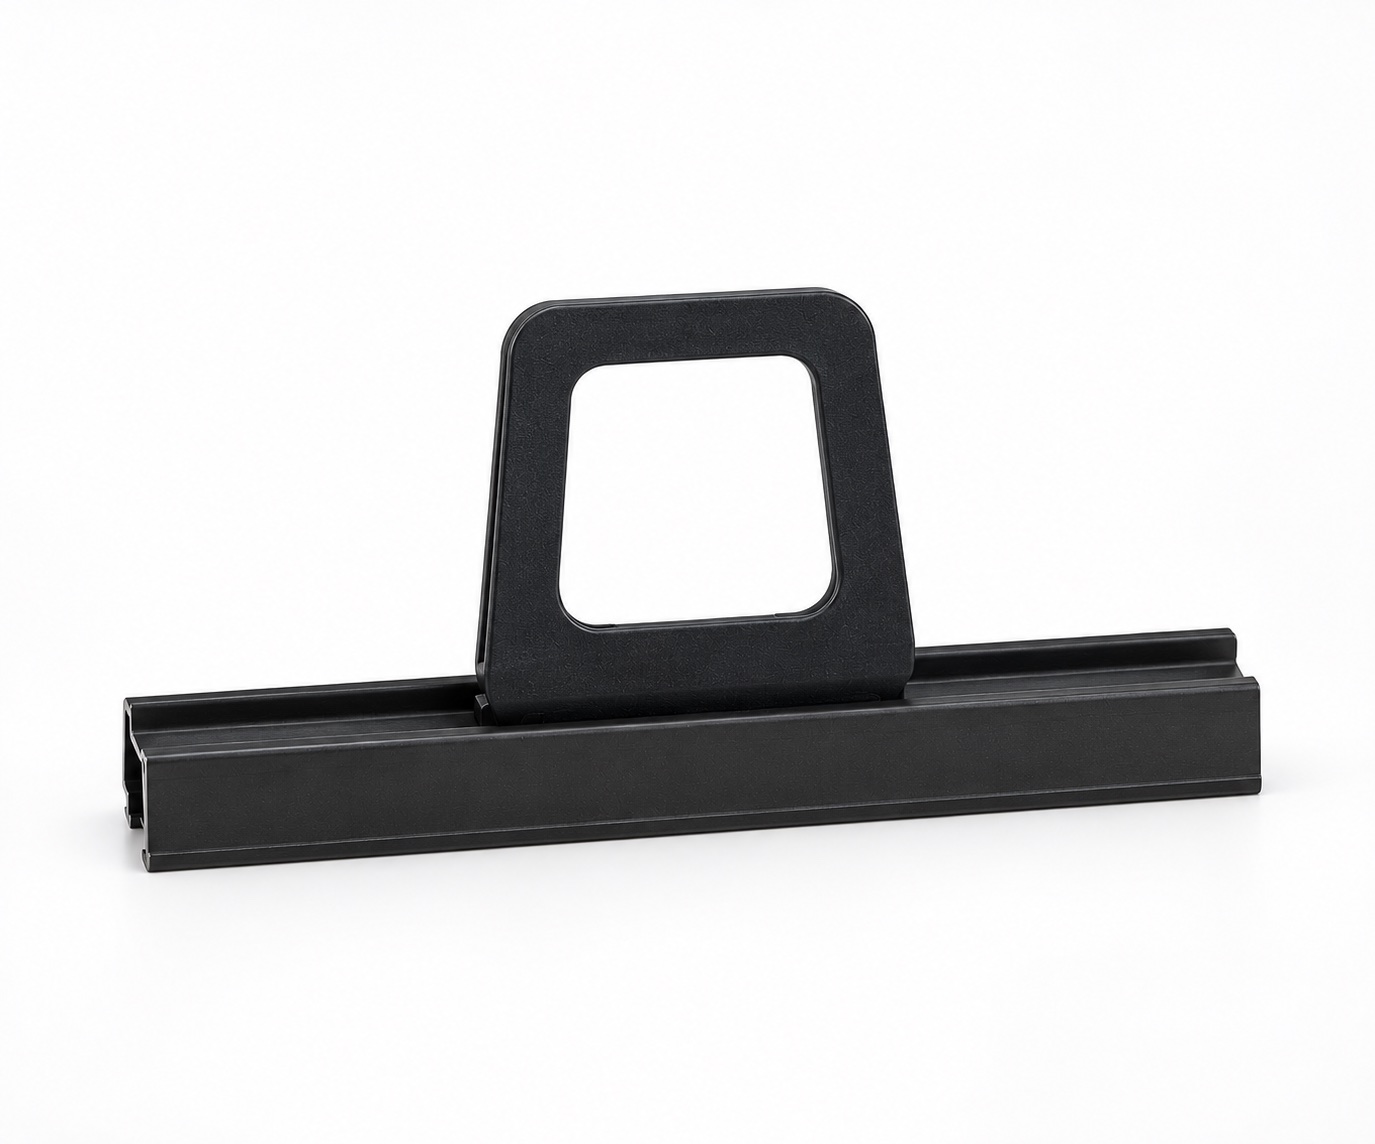
Pull tabs
Small flexible tabs used to remove or seat the screen. They normally sit opposite the springs, where you can reach them.
Screen hardware
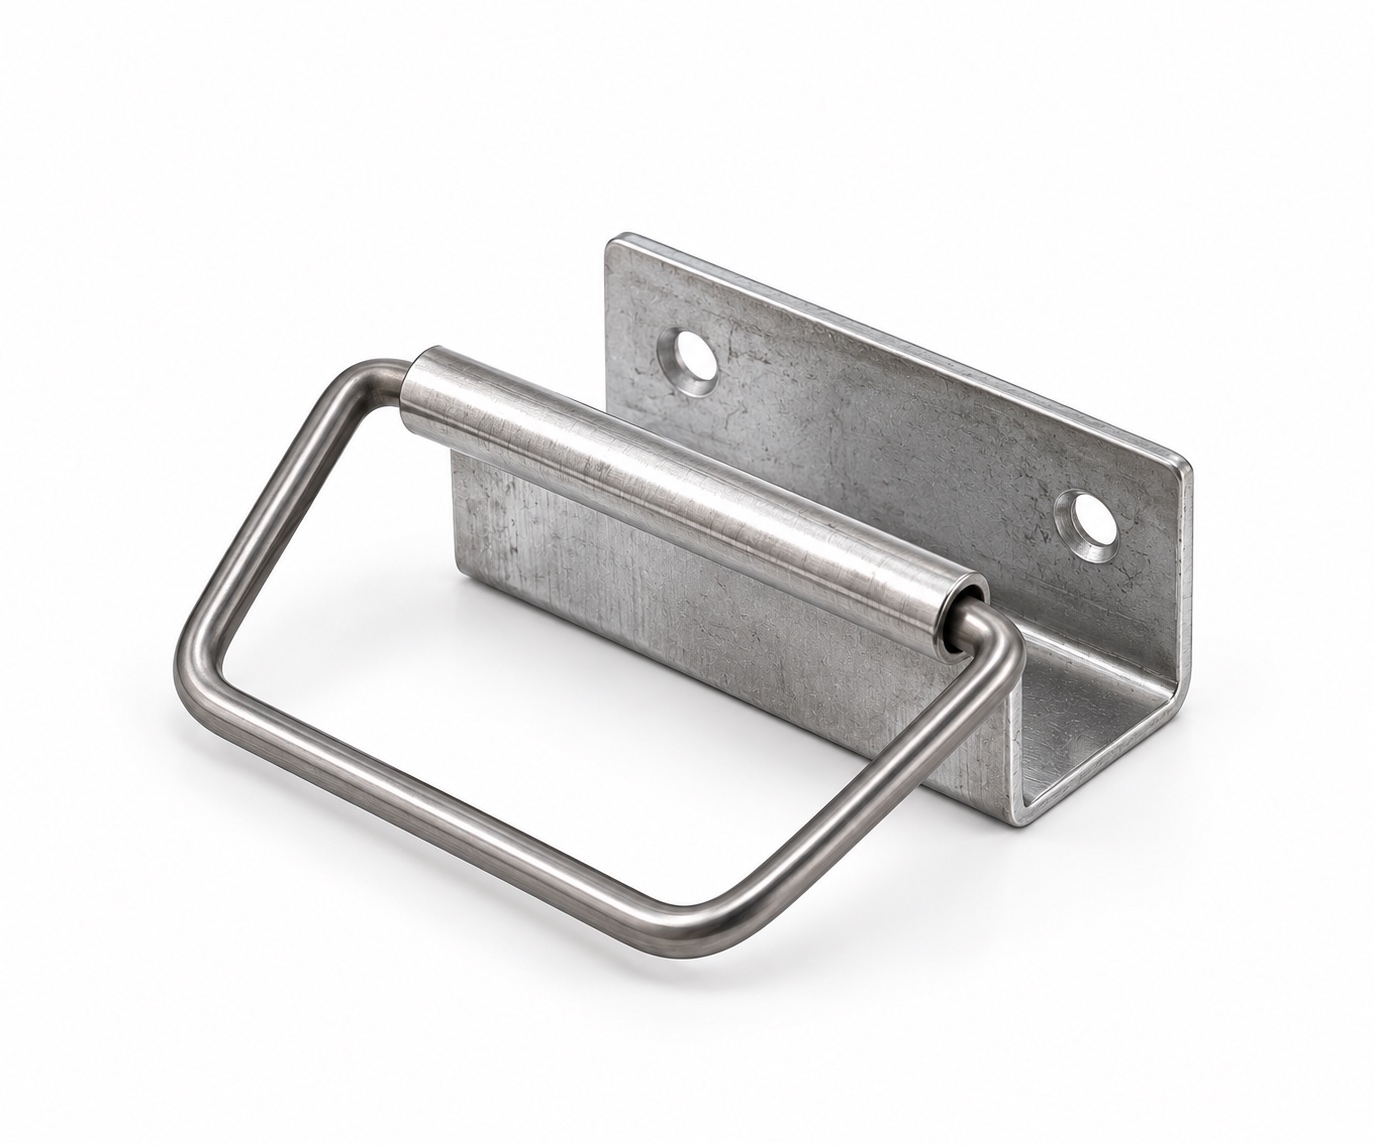
Loop latches
Loop-style retainers that help hold the screen in place. Match their edge and orientation to an existing screen.
Screen hardware
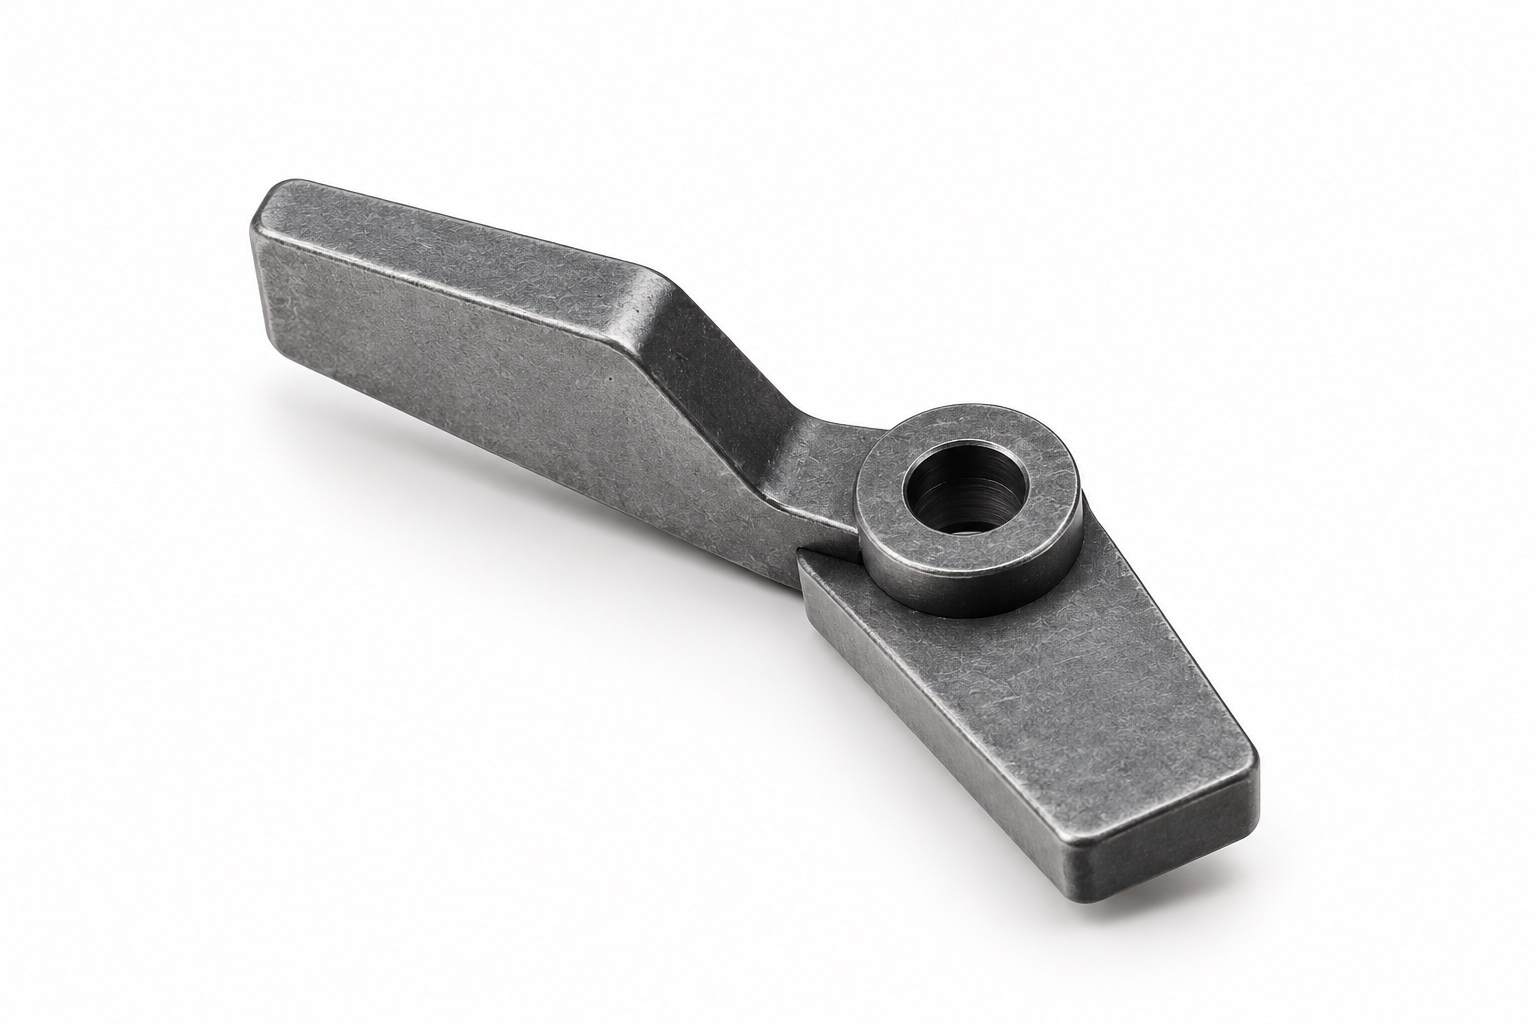
Swivel clips
Rotating clips that turn over the frame. Look for screw-mounted tabs around the outside of the opening.
Screen hardware
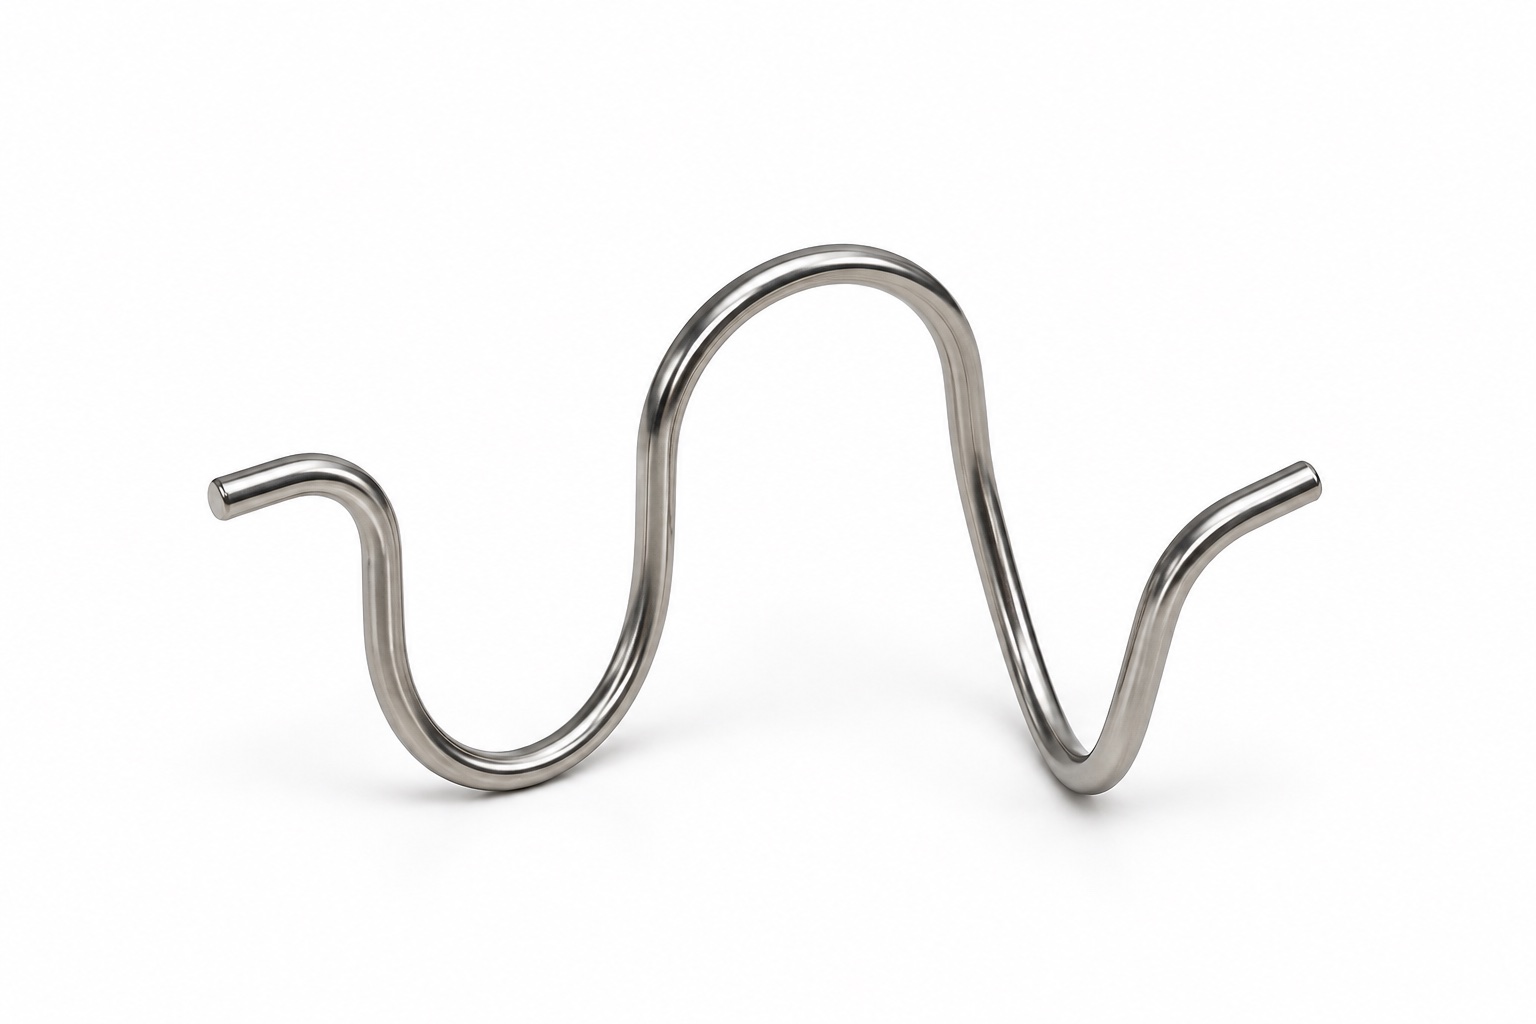
Ram horns
Curved retaining clips that hook into the window assembly. Their shape is distinctive, so compare it with the builder photo.
Screen hardware
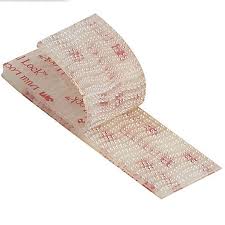
Dual Lock fasteners
Industrial reclosable fasteners used where traditional clips are not the right fit. Match the placement used by the existing screen.
Screen hardware
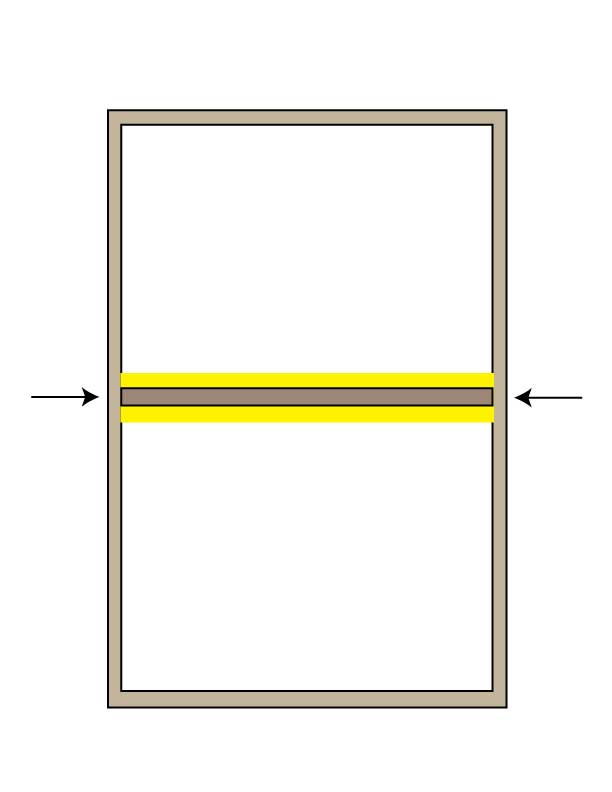
Crossbars
A horizontal or vertical brace that adds rigidity to a larger frame. Its direction should match the opening and the screen you are replacing.
The safest rule
Match what is on your existing screens
Use a screen from the same window style as your reference. Note the number of pieces, the edge where they sit and which way they face. If you are unsure, text clear photos to (832) 713-3545 before ordering.
See how hardware fits into the complete order on the custom window screens page.
Built to your measurements
Ready to see your price?
Build your screen online, review every choice, and see the price before checkout.
Start with function
Four hardware jobs to identify
Compress
Tension springs and plunger pins let one side move so the frame can enter or leave the track.
Pull
Pull tabs give your fingers a safe place to move the screen without tugging the mesh.
Retain
Loops, swivel clips, ram horns and fasteners keep the frame seated against the opening.
Reinforce
A crossbar helps a larger frame remain rigid and can support the mesh across a longer span.
Map every edge
Placement is part of the order
Hardware is not interchangeable simply because the pieces look similar. The edge carrying the spring determines how the frame compresses. Pull tabs usually belong on the opposite edge, where they can be reached during removal. Retaining clips must align with the window opening or surrounding trim.
Lay the old screen flat with the exterior side facing up. Mark top, right, bottom and left with painter’s tape. Photograph the whole frame, then photograph each piece close enough to show its shape and fastener. Keep that orientation while selecting the edge in the builder.
If an old part is missing, inspect another screen from the same window model. Do not copy hardware from a different style of window just because its dimensions are close.
Photograph for help
The three pictures TruShine needs
- A full exterior view showing the whole window and screen track.
- A close photo of the existing hardware with the screen still installed.
- A flat photo of the removed screen with a tape measure and all four edges visible.
Use good daylight, keep the image in focus and include a familiar scale. Text the photos with the window location to (832) 713-3545. Do not include personal documents, keys or people in the frame.
Common ordering errors
What not to assume
- Do not assume “top” while holding the screen sideways. Mark the orientation before removal.
- Do not count one spring when the system requires a matching pair.
- Do not add pull tabs to the same edge as the springs unless the existing screen clearly uses that layout.
- Do not select a crossbar direction by appearance alone; match the reference screen or ask.
- Do not force a new clip into a damaged track. The window may need repair first.
Helpful details
Window screen hardware FAQ
Do I need hardware on every screen?
No. Some screen frames sit in a channel without added hardware. Match the system used by the existing window.
How many pieces come with a selected hardware option?
The builder describes hardware as a pair unless the selection says otherwise.
Where do pull tabs go?
They normally sit opposite the spring edge so the screen can be compressed and removed.
When does a screen need a crossbar?
Larger frames may benefit from added rigidity. Match an existing screen or ask TruShine when uncertain.
Can I reuse hardware from the old screen?
Sometimes, but worn, bent or missing pieces should be identified before ordering. Ask TruShine rather than assuming an old part will transfer.
Before removing the reference screen
Preserve the orientation
Take a photo while the screen is still installed. Add a small piece of painter’s tape marked “top” to the frame, then photograph the spring edge and the removal edge. Release the screen using its normal tabs or pins; never pry against the mesh or twist the corners.
Once it is flat, inspect each part for bends, missing screws, worn plastic or corrosion. A damaged component may explain why the screen rattled or fell out, but replacement hardware still has to match the window’s attachment points.
If removal requires a ladder, the window is high, or the mechanism is unclear, stop and request help. A safe onsite measurement is better than a damaged window or an injury.
Diagnose the symptom
What loose or difficult screens may be telling you
A screen that rattles can have the wrong finished size, weak springs or missing retainers. A screen that will not release may have painted-over clips, a bent track or hardware installed on the wrong edge. A bowed center can point to an oversized frame, rough handling or the need for a crossbar.
Hardware alone cannot solve every fit problem. Check that the frame is square, corners are tight and the window track is clean and undamaged. Send photos before ordering if the existing screen has been forced into place or uses a part that does not match the builder illustrations.
Use the builder illustrations correctly
Photos identify the part, not its size
The hardware images show the general shape of each option so you can identify springs, pins, clips and fasteners. They are not printed at actual size and should not be used as a measuring scale. Match the function, count, edge and orientation from your reference screen.
When the old hardware is unavailable, text photos of the opening and a matching nearby screen to (832) 713-3545. TruShine can help identify the questions that must be answered before manufacturing begins.
Built to your measurements
Ready to see your price?
Build your screen online, review every choice, and see the price before checkout.